Emergency Plumbing: What to Do Before the Plumber Arrives
A plumbing emergency doesn't wait for a convenient time. Whether it's a burst pipe flooding your living room, an overflowing toilet that won't stop, or a water heater that's suddenly spraying water across your utility room, your response in the first few minutes can make an enormous difference to the severity of the damage — and the size of the repair bill.
The good news is that even if you're not a plumber, there are clear, straightforward steps you can take right now that will stop the damage from escalating. Bookmark this page and share it with your household. Knowing this information before an emergency strikes is the best preparation you can have.
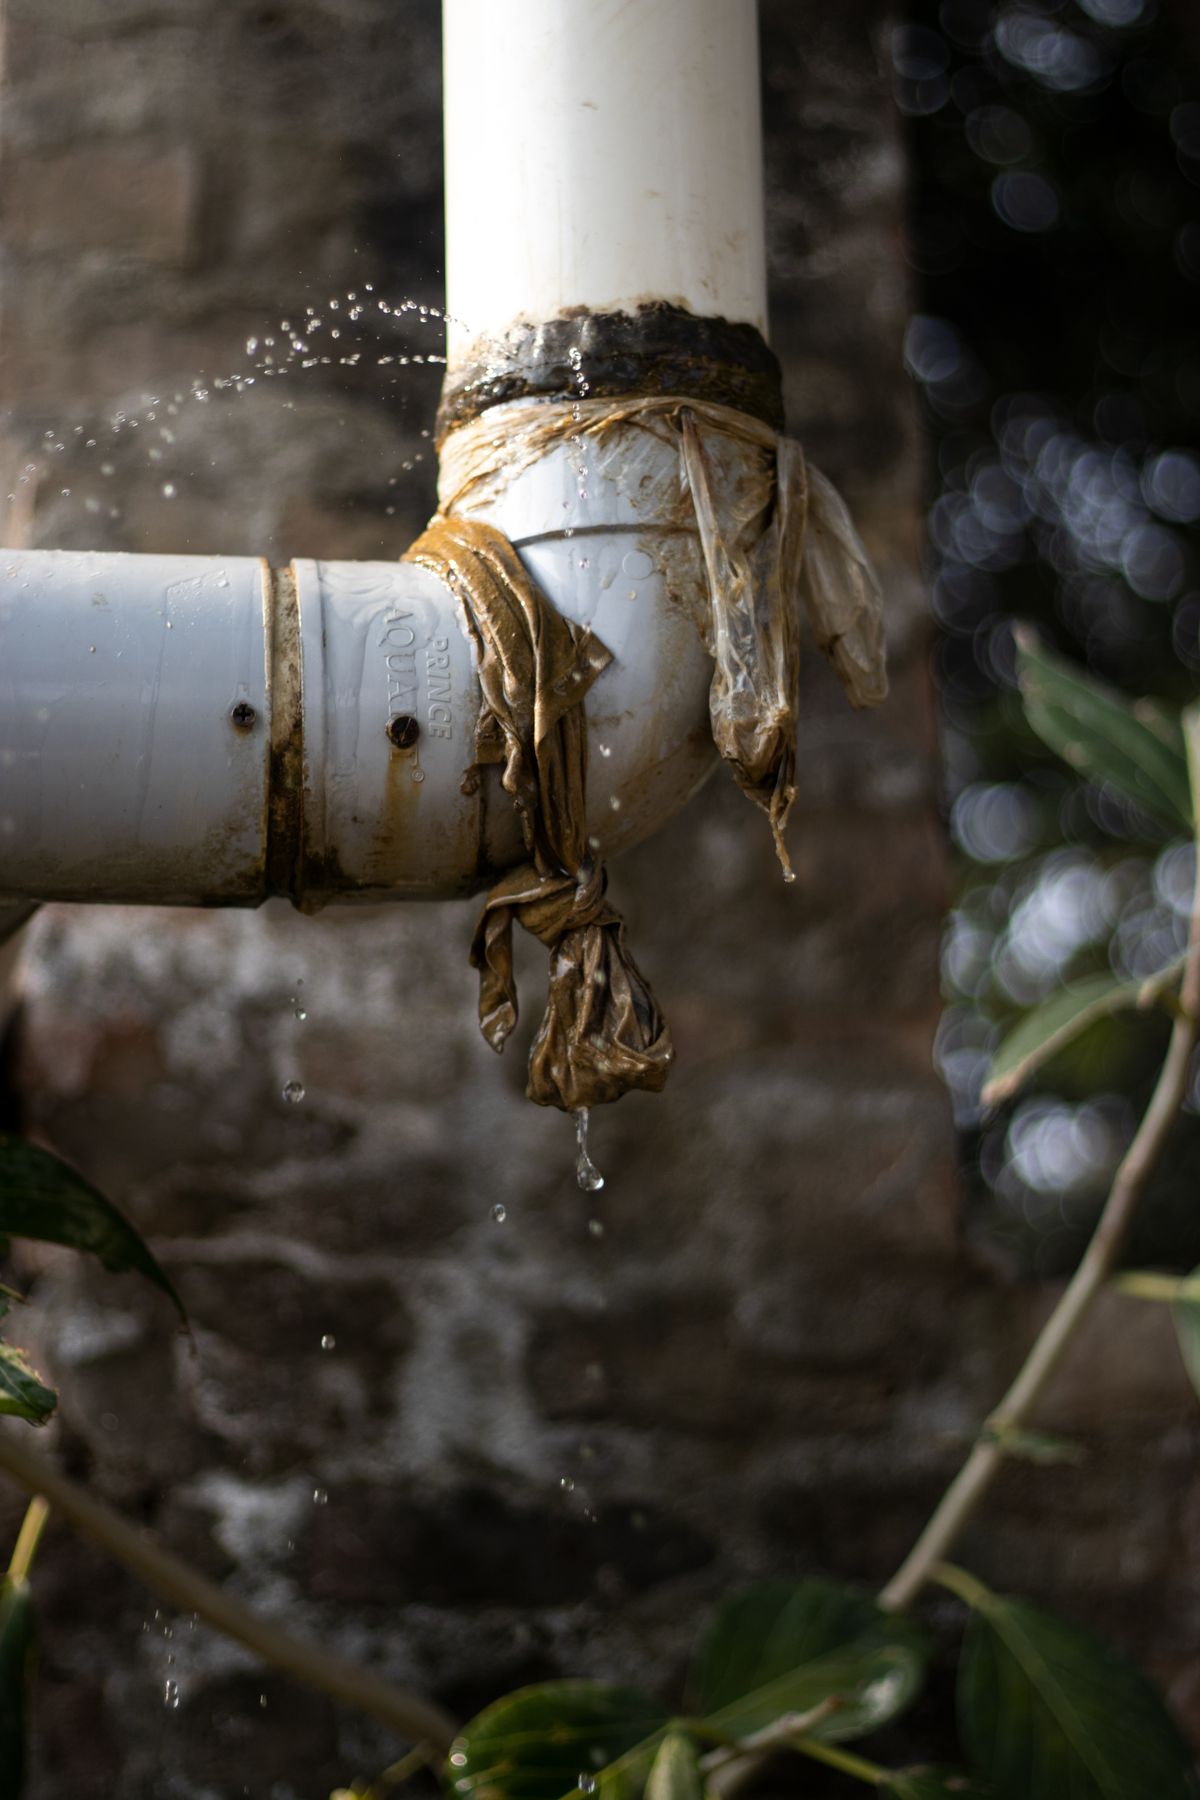
Step 1: Shut Off the Main Water Valve — Immediately
The single most important thing you can do in a plumbing emergency is stop more water from entering the situation. Your home's main water shut-off valve controls all water coming into the building. Turning it off stops the flood at its source.
Where to find your main shut-off valve:
- In most Dallas-area homes, it's located near the front of the house, close to the water meter — often in a utility closet, garage, or crawl space
- Older homes may have a valve near the water heater or in the basement
- The meter box at the street also has a shut-off, accessible with a meter key tool (available at hardware stores for under $10)
Pro Tip: Don't wait for an emergency to find your shut-off valve. Do it right now, today. Walk around your home and locate it, then make sure every adult in your household knows where it is and how to turn it off.
Turn the valve clockwise (righty-tighty) to shut it off completely. Gate valves (oval-handled) require several full rotations. Ball valves (lever-handled) require only a quarter turn so the lever is perpendicular to the pipe.
Step 2: Turn Off Your Water Heater
Once the main water supply is off, protect your water heater. Without incoming cold water, a tank-style water heater will overheat quickly and can be seriously damaged — or in extreme cases, become a pressure hazard. Turn your water heater to the "pilot" setting (gas) or switch it off at the breaker (electric) as soon as you shut off the main supply.
Step 3: Open Faucets to Drain Residual Pressure
Even after the main valve is off, your pipes still hold water under pressure. Open a faucet at the lowest point of your home (often a hose bib in the garage or a basement faucet) to release that pressure and drain the remaining water out of the lines safely. This prevents water from continuing to seep out of a damaged area and helps the system depressurize before repairs begin.
Step 4: Contain the Leak with Towels and Buckets
Once the water supply is off and pressure is released, focus on limiting the water already present. Act quickly:
- Place buckets, pots, or bowls under active drips from ceilings or pipes
- Use towels, mops, or old blankets to absorb standing water on floors
- Move rugs, furniture, electronics, and valuables out of the wet area
- If water is near electrical outlets, switches, or your electrical panel, do not touch them — turn off power to that area at your breaker box first
- Push standing water toward a floor drain if one is present using a squeegee or broom
The faster you remove standing water, the less chance it has to seep under flooring, into subfloors, or into drywall — all of which lead to mold, warping, and structural damage that dramatically increases repair costs.
Step 5: Document the Damage for Insurance
Before cleanup is complete and definitely before any repairs begin, document everything thoroughly. Pull out your phone and:
- Take photos and video of the source of the leak or burst
- Photograph all affected areas: ceilings, walls, floors, furniture
- Note the approximate time the incident started
- Save any receipts for emergency supplies (towels, buckets, a wet-vac rental)
Most homeowner's insurance policies cover sudden and accidental plumbing damage — but not gradual leaks that were ignored. Thorough documentation at the time of the event strengthens your claim and ensures you're reimbursed fairly.
Step 6: Call a Licensed Plumber Immediately
This step should happen concurrently with or immediately after shutting off the main valve — not after you've spent two hours trying to manage the situation yourself. Green Plumbin offers emergency plumbing service throughout the Dallas, TX area. Our on-call team is available to dispatch quickly and arrive with the tools and parts needed to assess and resolve most emergency plumbing situations on the same visit.
Call us now at 972 900 3103 — the sooner we're on our way, the less damage you'll face when we arrive.
What NOT to Do in a Plumbing Emergency
- Do not use chemical drain cleaners on a backed-up drain during a flood — they can splash back and cause burns
- Do not ignore the problem and hope it resolves on its own
- Do not attempt to use power tools or cut into walls without professional guidance
- Do not touch any electrical fixtures, outlets, or the breaker box while standing in water
- Do not run dishwashers, washing machines, or flush toilets until the system has been professionally inspected
- Do not use a regular household vacuum to remove water — use a wet-dry vac only
After the Plumber Arrives
Once our team is on site, we'll assess the full scope of the damage, make the necessary repairs, and advise you on any follow-up steps — including referrals to water damage restoration specialists if needed for extensive flooding. We'll also help you understand what caused the emergency so you can take steps to prevent a recurrence.
Plumbing emergencies are stressful, but they're manageable. The steps above — especially the critical first move of shutting off the main valve — can mean the difference between a minor repair and a major restoration project. Stay calm, act fast, and call Green Plumbin.